 TheCircuitDog
New PCB Bring-Up Checklist
A consistent pre-power checklist makes first-article board bring-up safer and quicker to repeat.
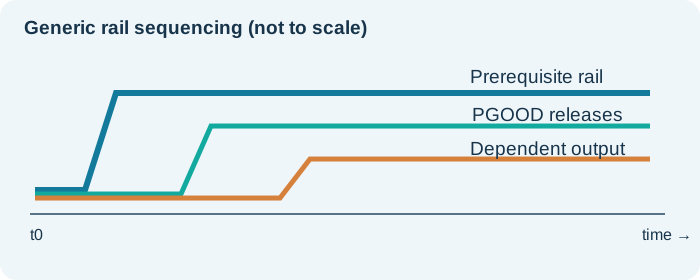
Before first power
Inspect for rotated components, solder bridges, damaged packages and polarity mistakes. Review the schematic/BOM for the exact assembly revision. With no power applied and capacitors discharged, compare major rail-to-ground resistance values against expected behavior or a known-good assembly.
Control the first power application
Set an appropriate current limit and verify polarity before enabling. Do not assume every component can tolerate current-limited partial-voltage operation: sensitive ICs may have sequencing requirements.
Check rails in order
Verify each prerequisite rail, then each dependent rail, confirming actual voltage, ripple, EN/PGOOD logic and startup time. Do not rely solely on LED indicators.
Bring up digital interfaces progressively
Once rails, clocks and reset signals are correct, test communications and boot modes. For FPGA/processor designs, confirm reference clock, boot straps, PS/POR, and memory power conditions before complicated software debugging.
Preserve evidence
Record serial number, build revision, instrument settings, input current and screen captures. Track every component or rework change separately.
Practical checklist
- Input polarity and current limit confirmed.
- Rail-to-ground checks recorded.
- Power sequencing scope capture saved.
- Main clocks/resets checked.
- Thermal observation documented.
- Changes and rework logged.